How to Craft a Traditional Christmas Wreath: A Step-By-Step Guide
Welcome to Kimberley's The Florist, today we're going to teach you how to create a traditional christmas wreath.
With the season of joy and giving just around the corner, it's time to give your front door the love it deserves.
If you're wondering how to capture the Christmas spirit with the right balance of tradition, you're at the right place!
Materials You Will Need:
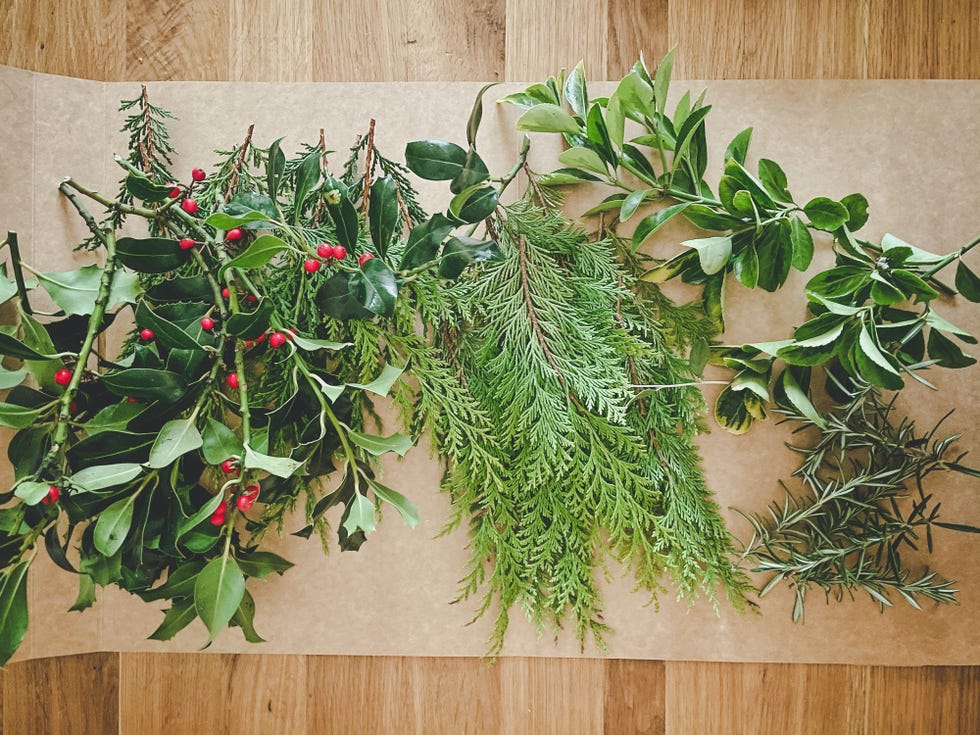
Moss Ring Foliage (e.g., Holly leaves, Eucalyptus, Pine sprigs)

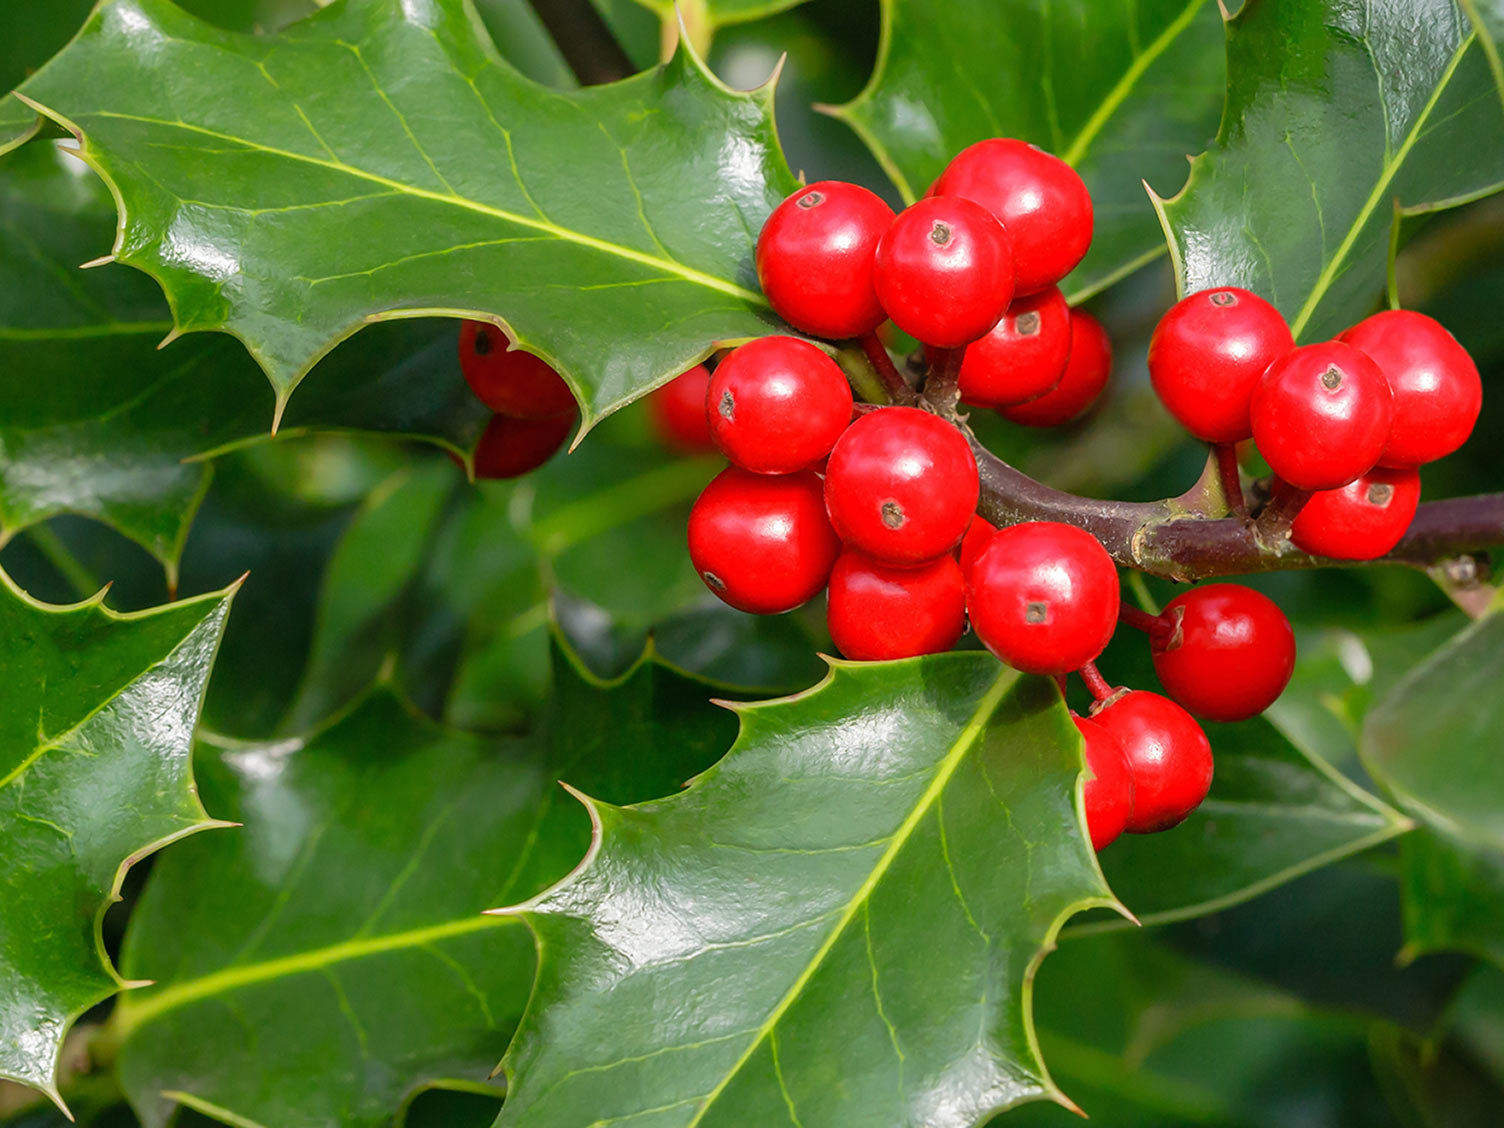
Berries (e.g. red holly berries) Ribbons (colours like red, gold, or green)

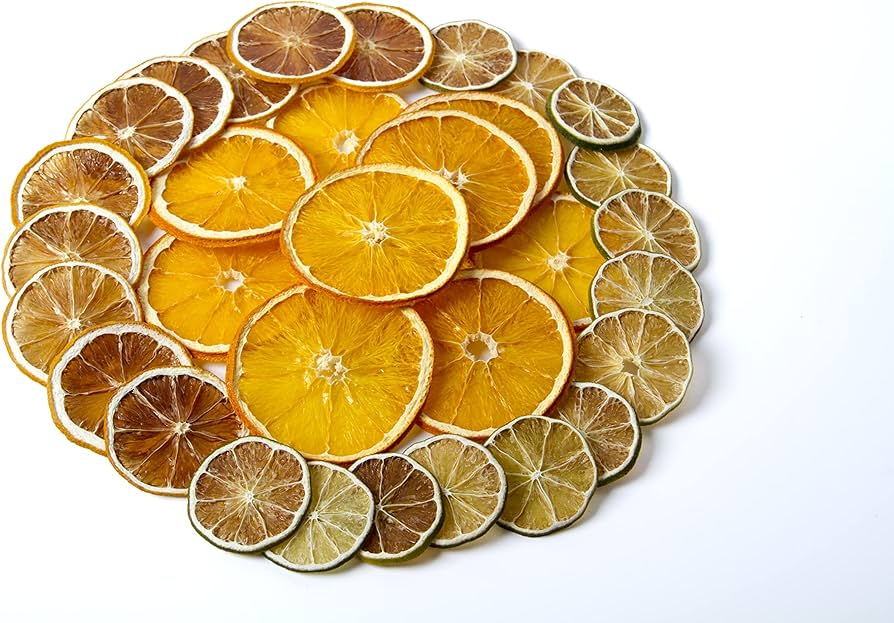
Christmas Baubles Dried Fruit (optional)

Florist Wire Scissors or Secateurs


And finally... Gloves

The Step-By-Step Guide
Step 1: Prepare Your Workspace
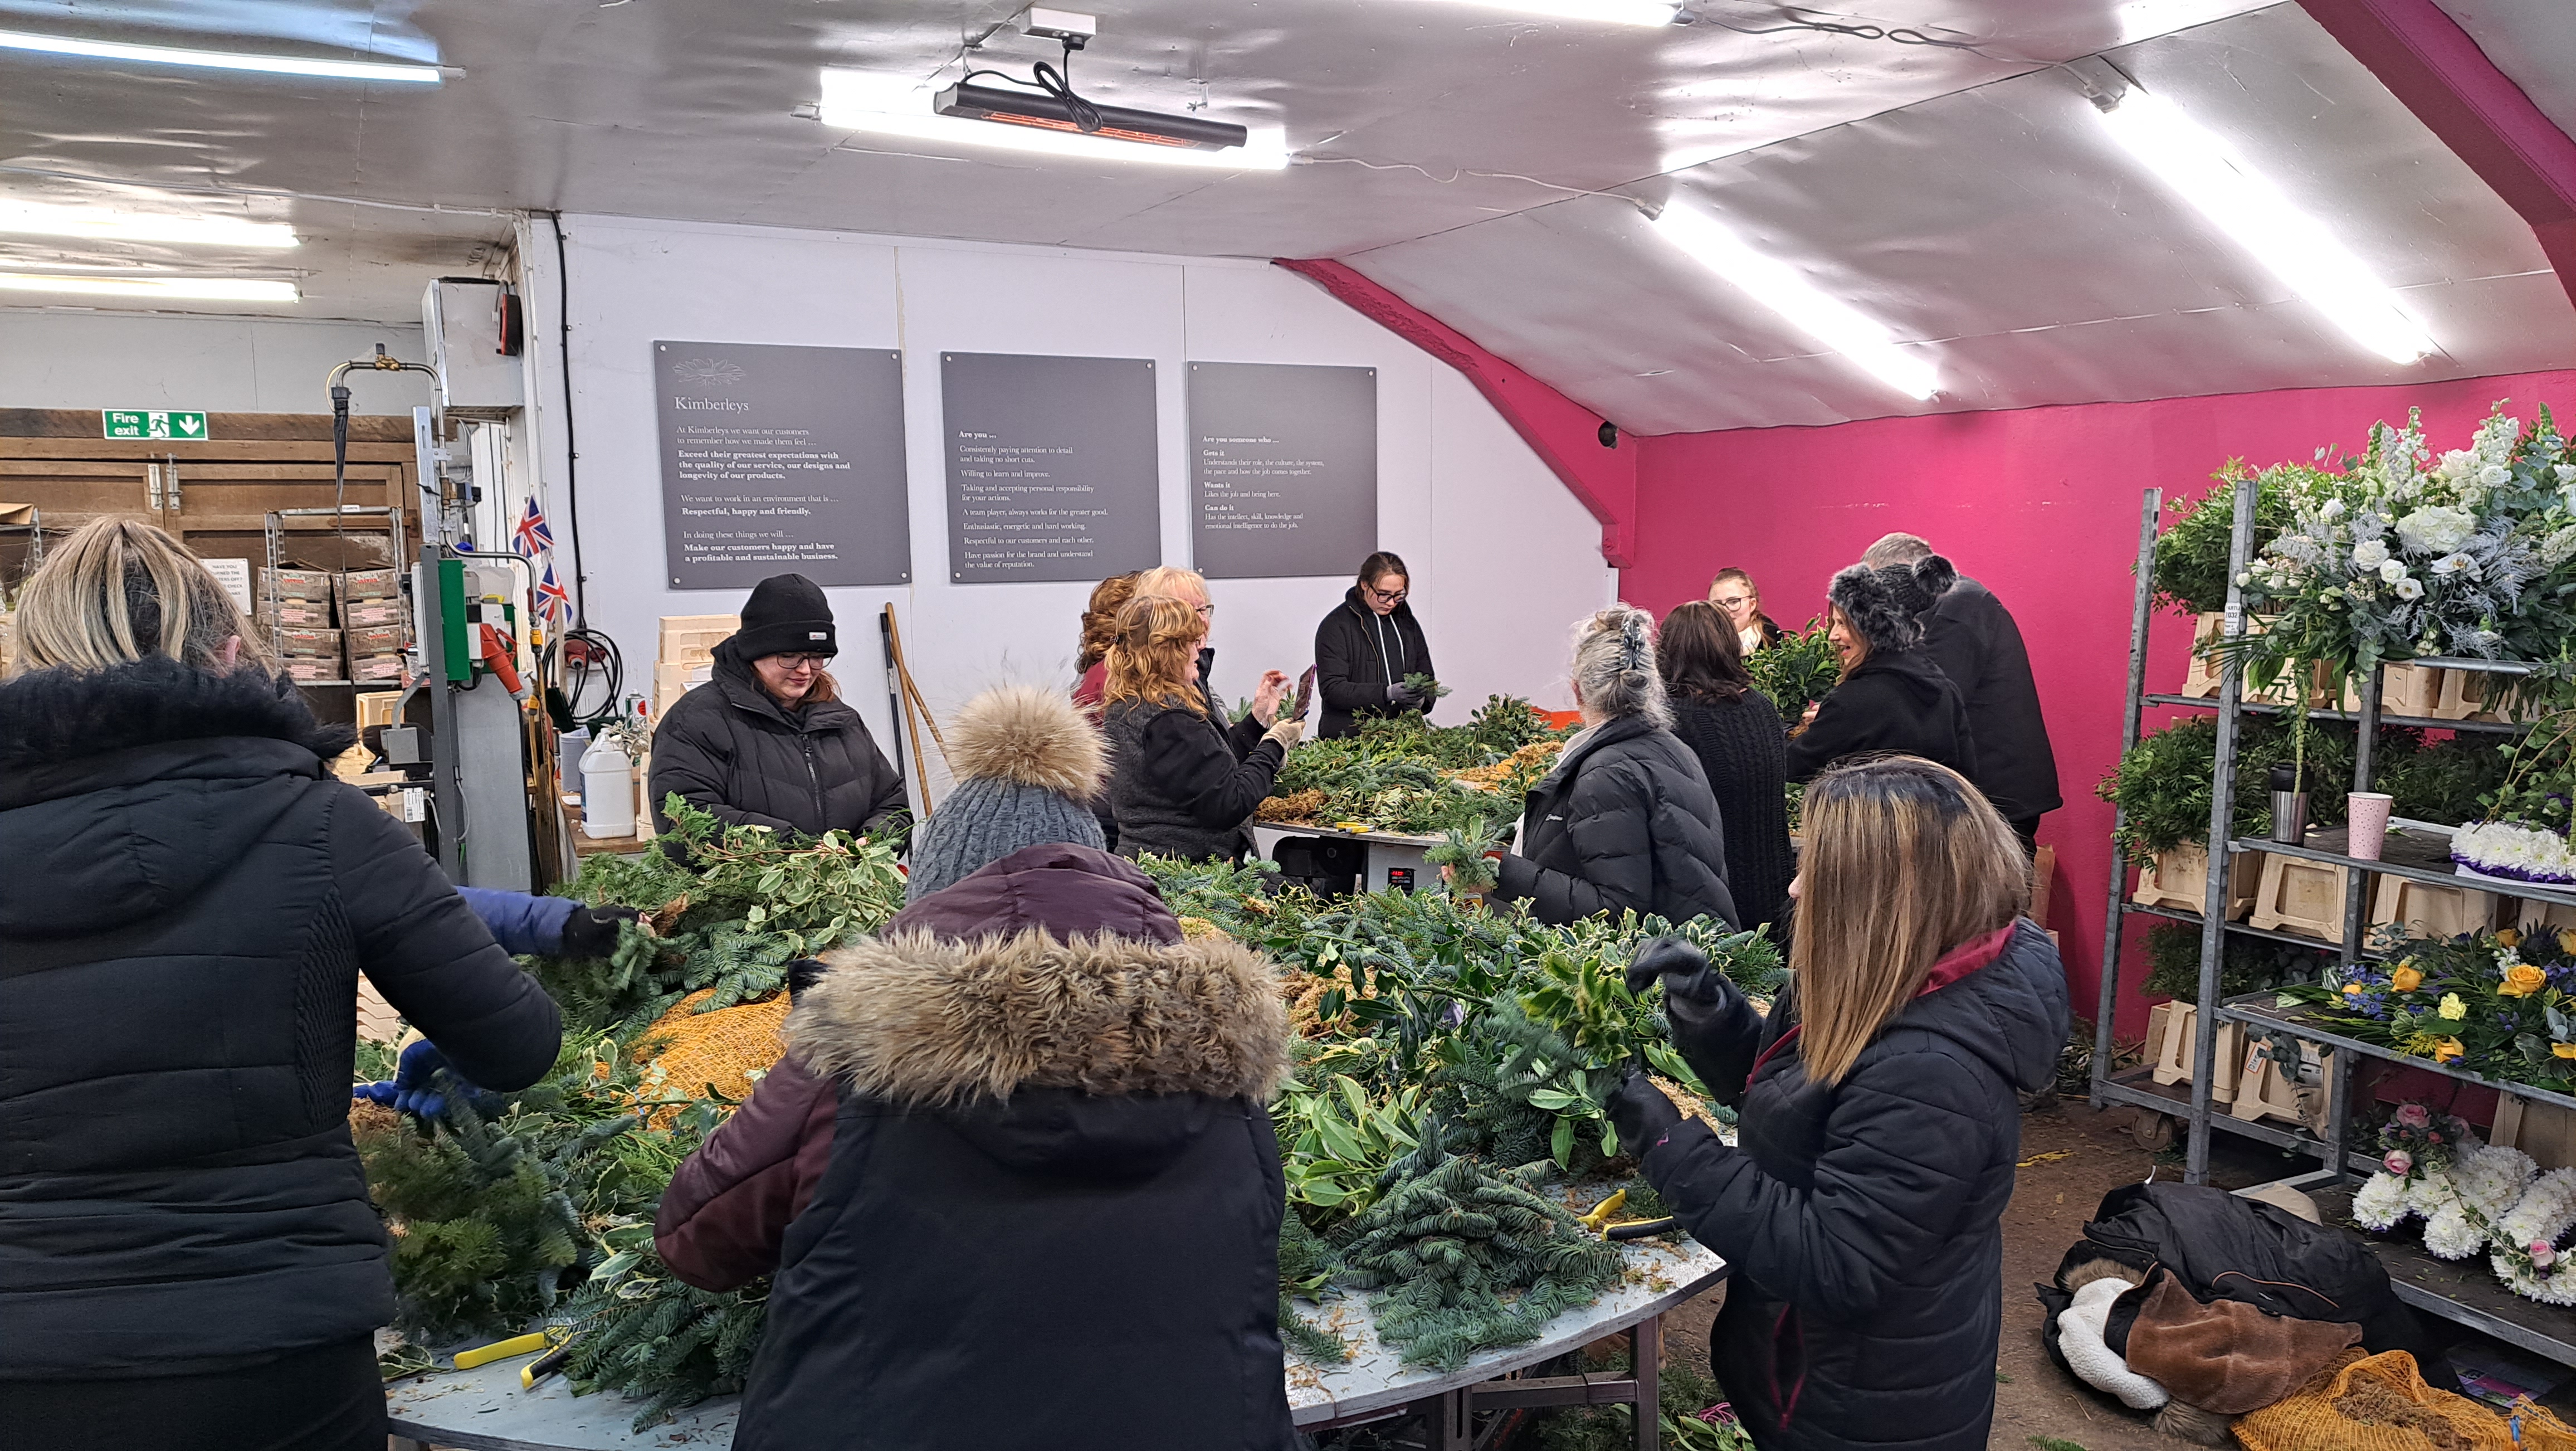
Set up a clutter-free, flat surface for your crafting magic. Lay out your materials neatly so you can easily reach out for them during the creation process.
Step 2: Build the Moss Foundation
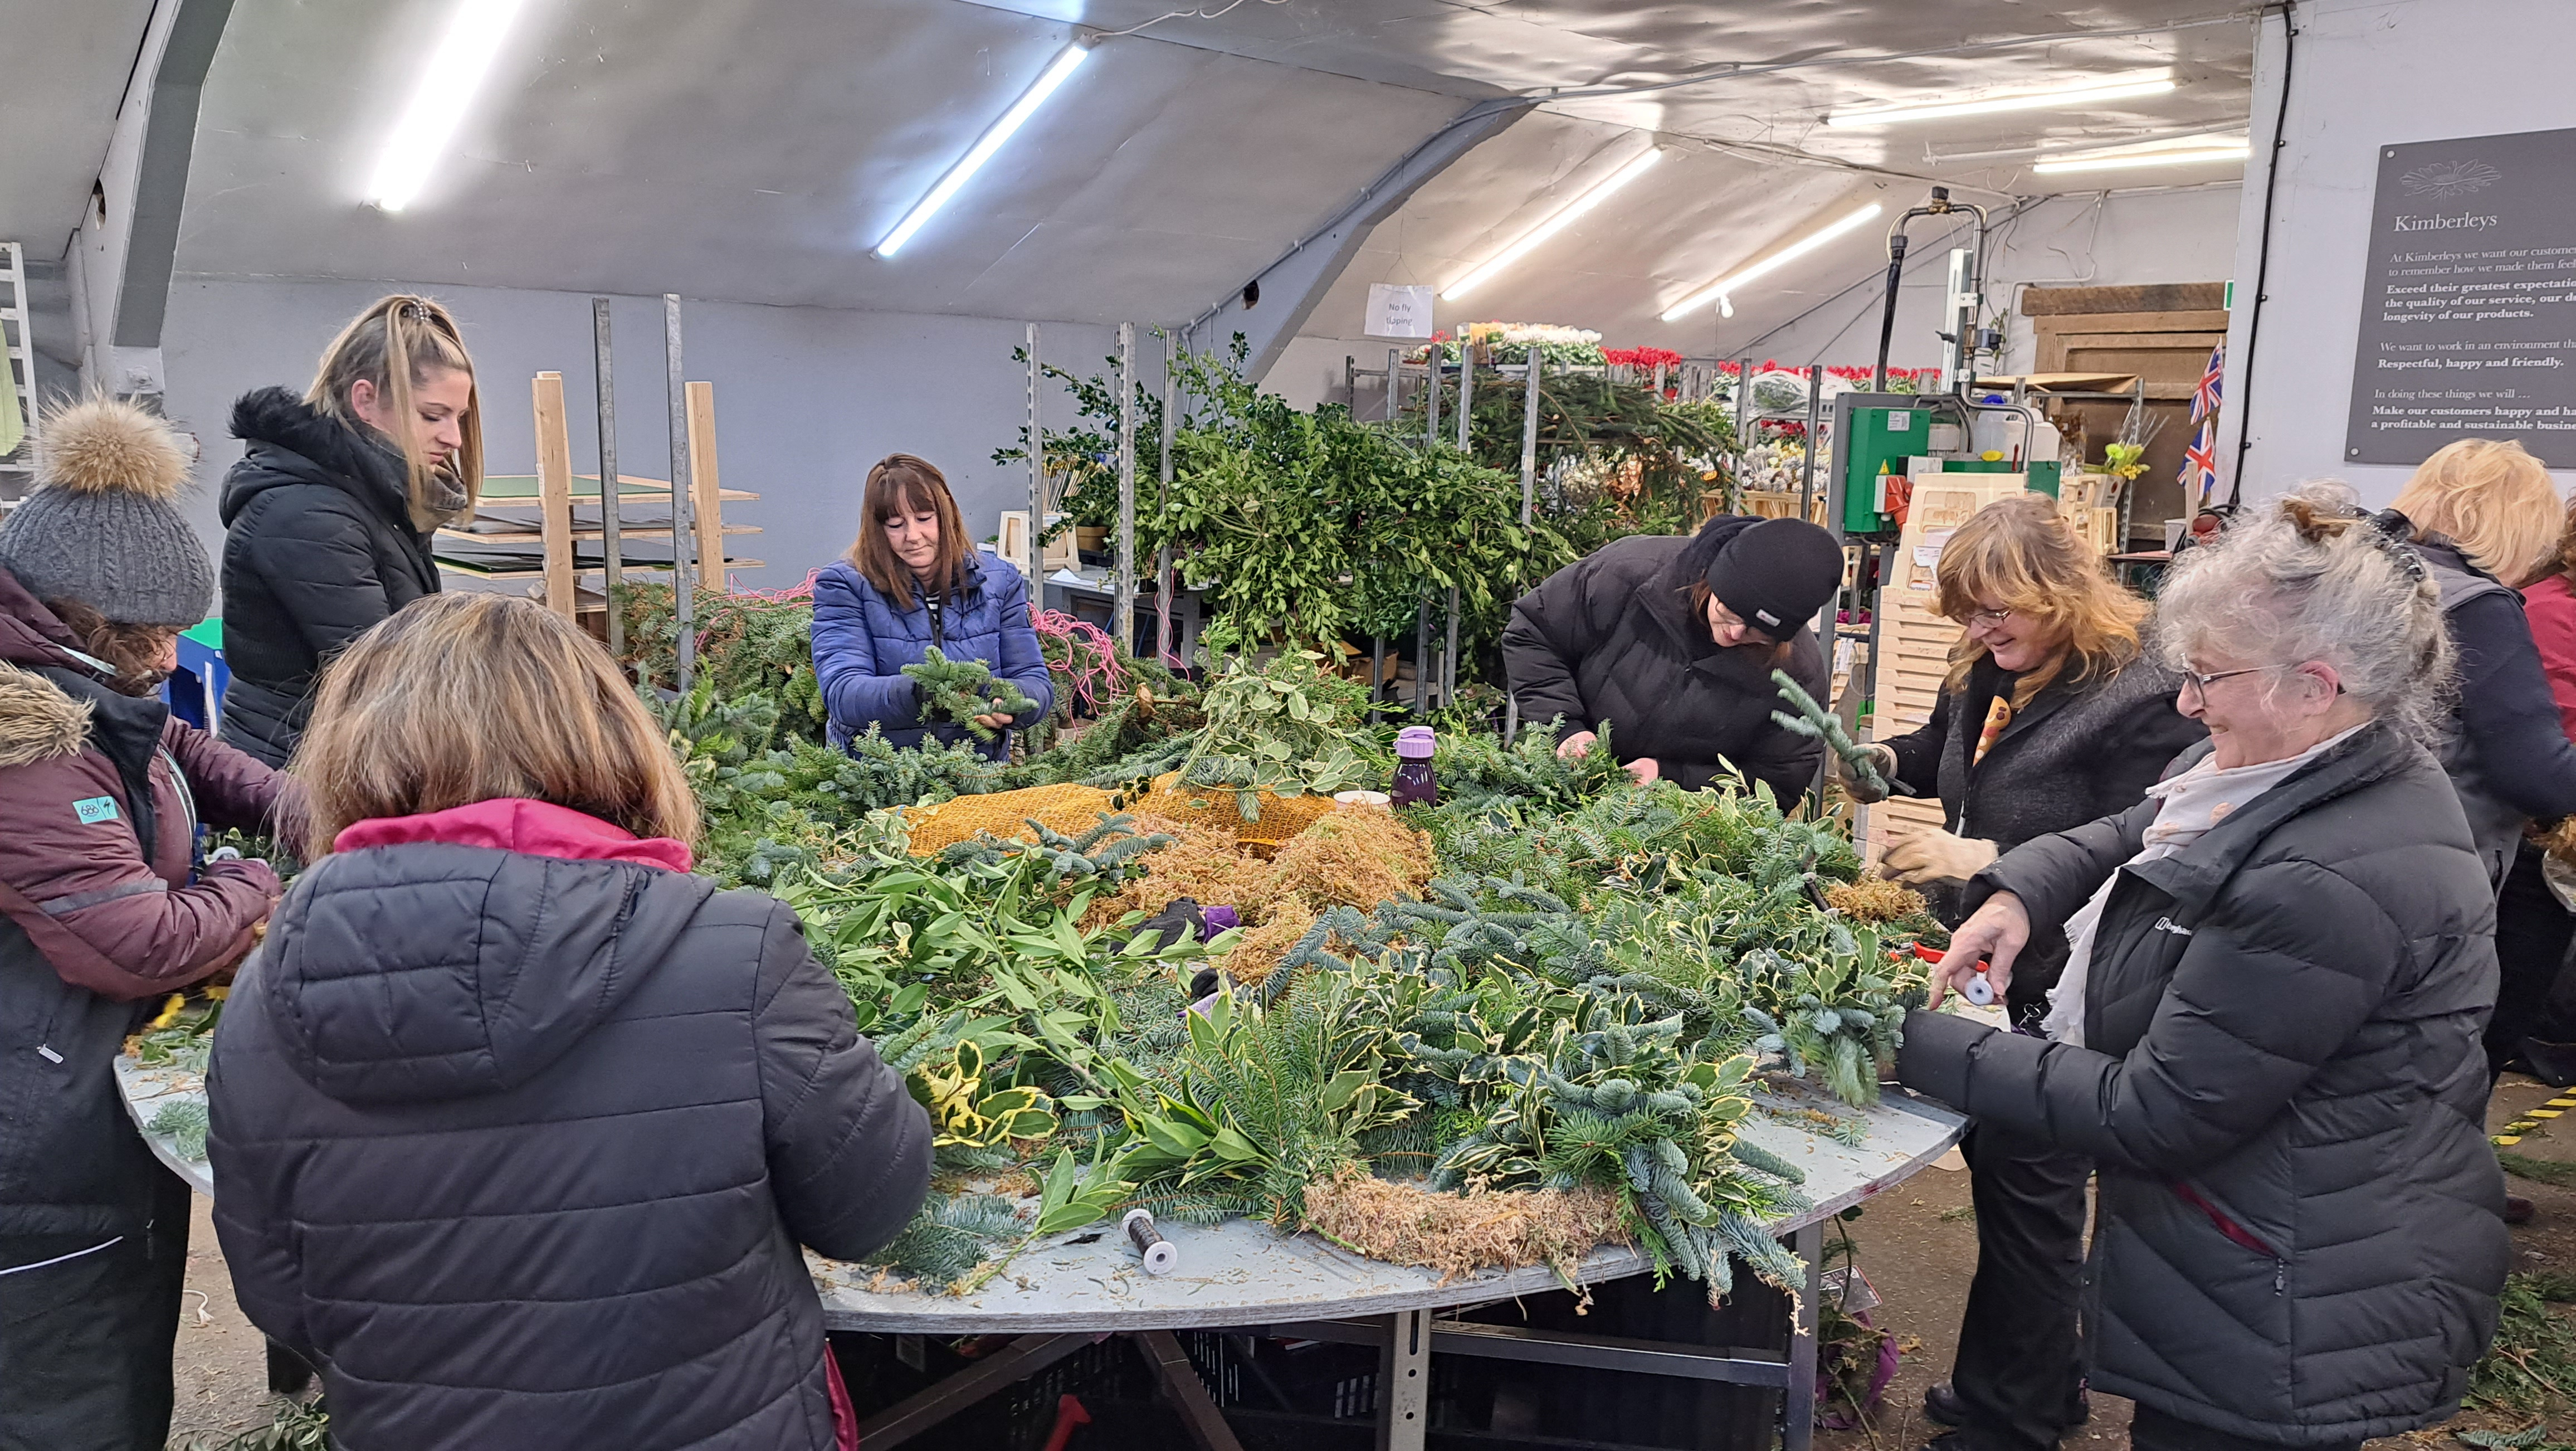
Put on your gloves if you have sensitive skin and start with the moss ring.
This acts as the foundation for your wreath. It’s soft, and works wonderfully in keeping your foliage in place.
Attach your wire to the frame and then bind on handfuls of moss, pulling it nice and tight after each handful.
Make sure you go round the same way and that the ring is nice and chunky when mossed. Don’t cut the wire yet!
Step 3: Attach Your Foliage
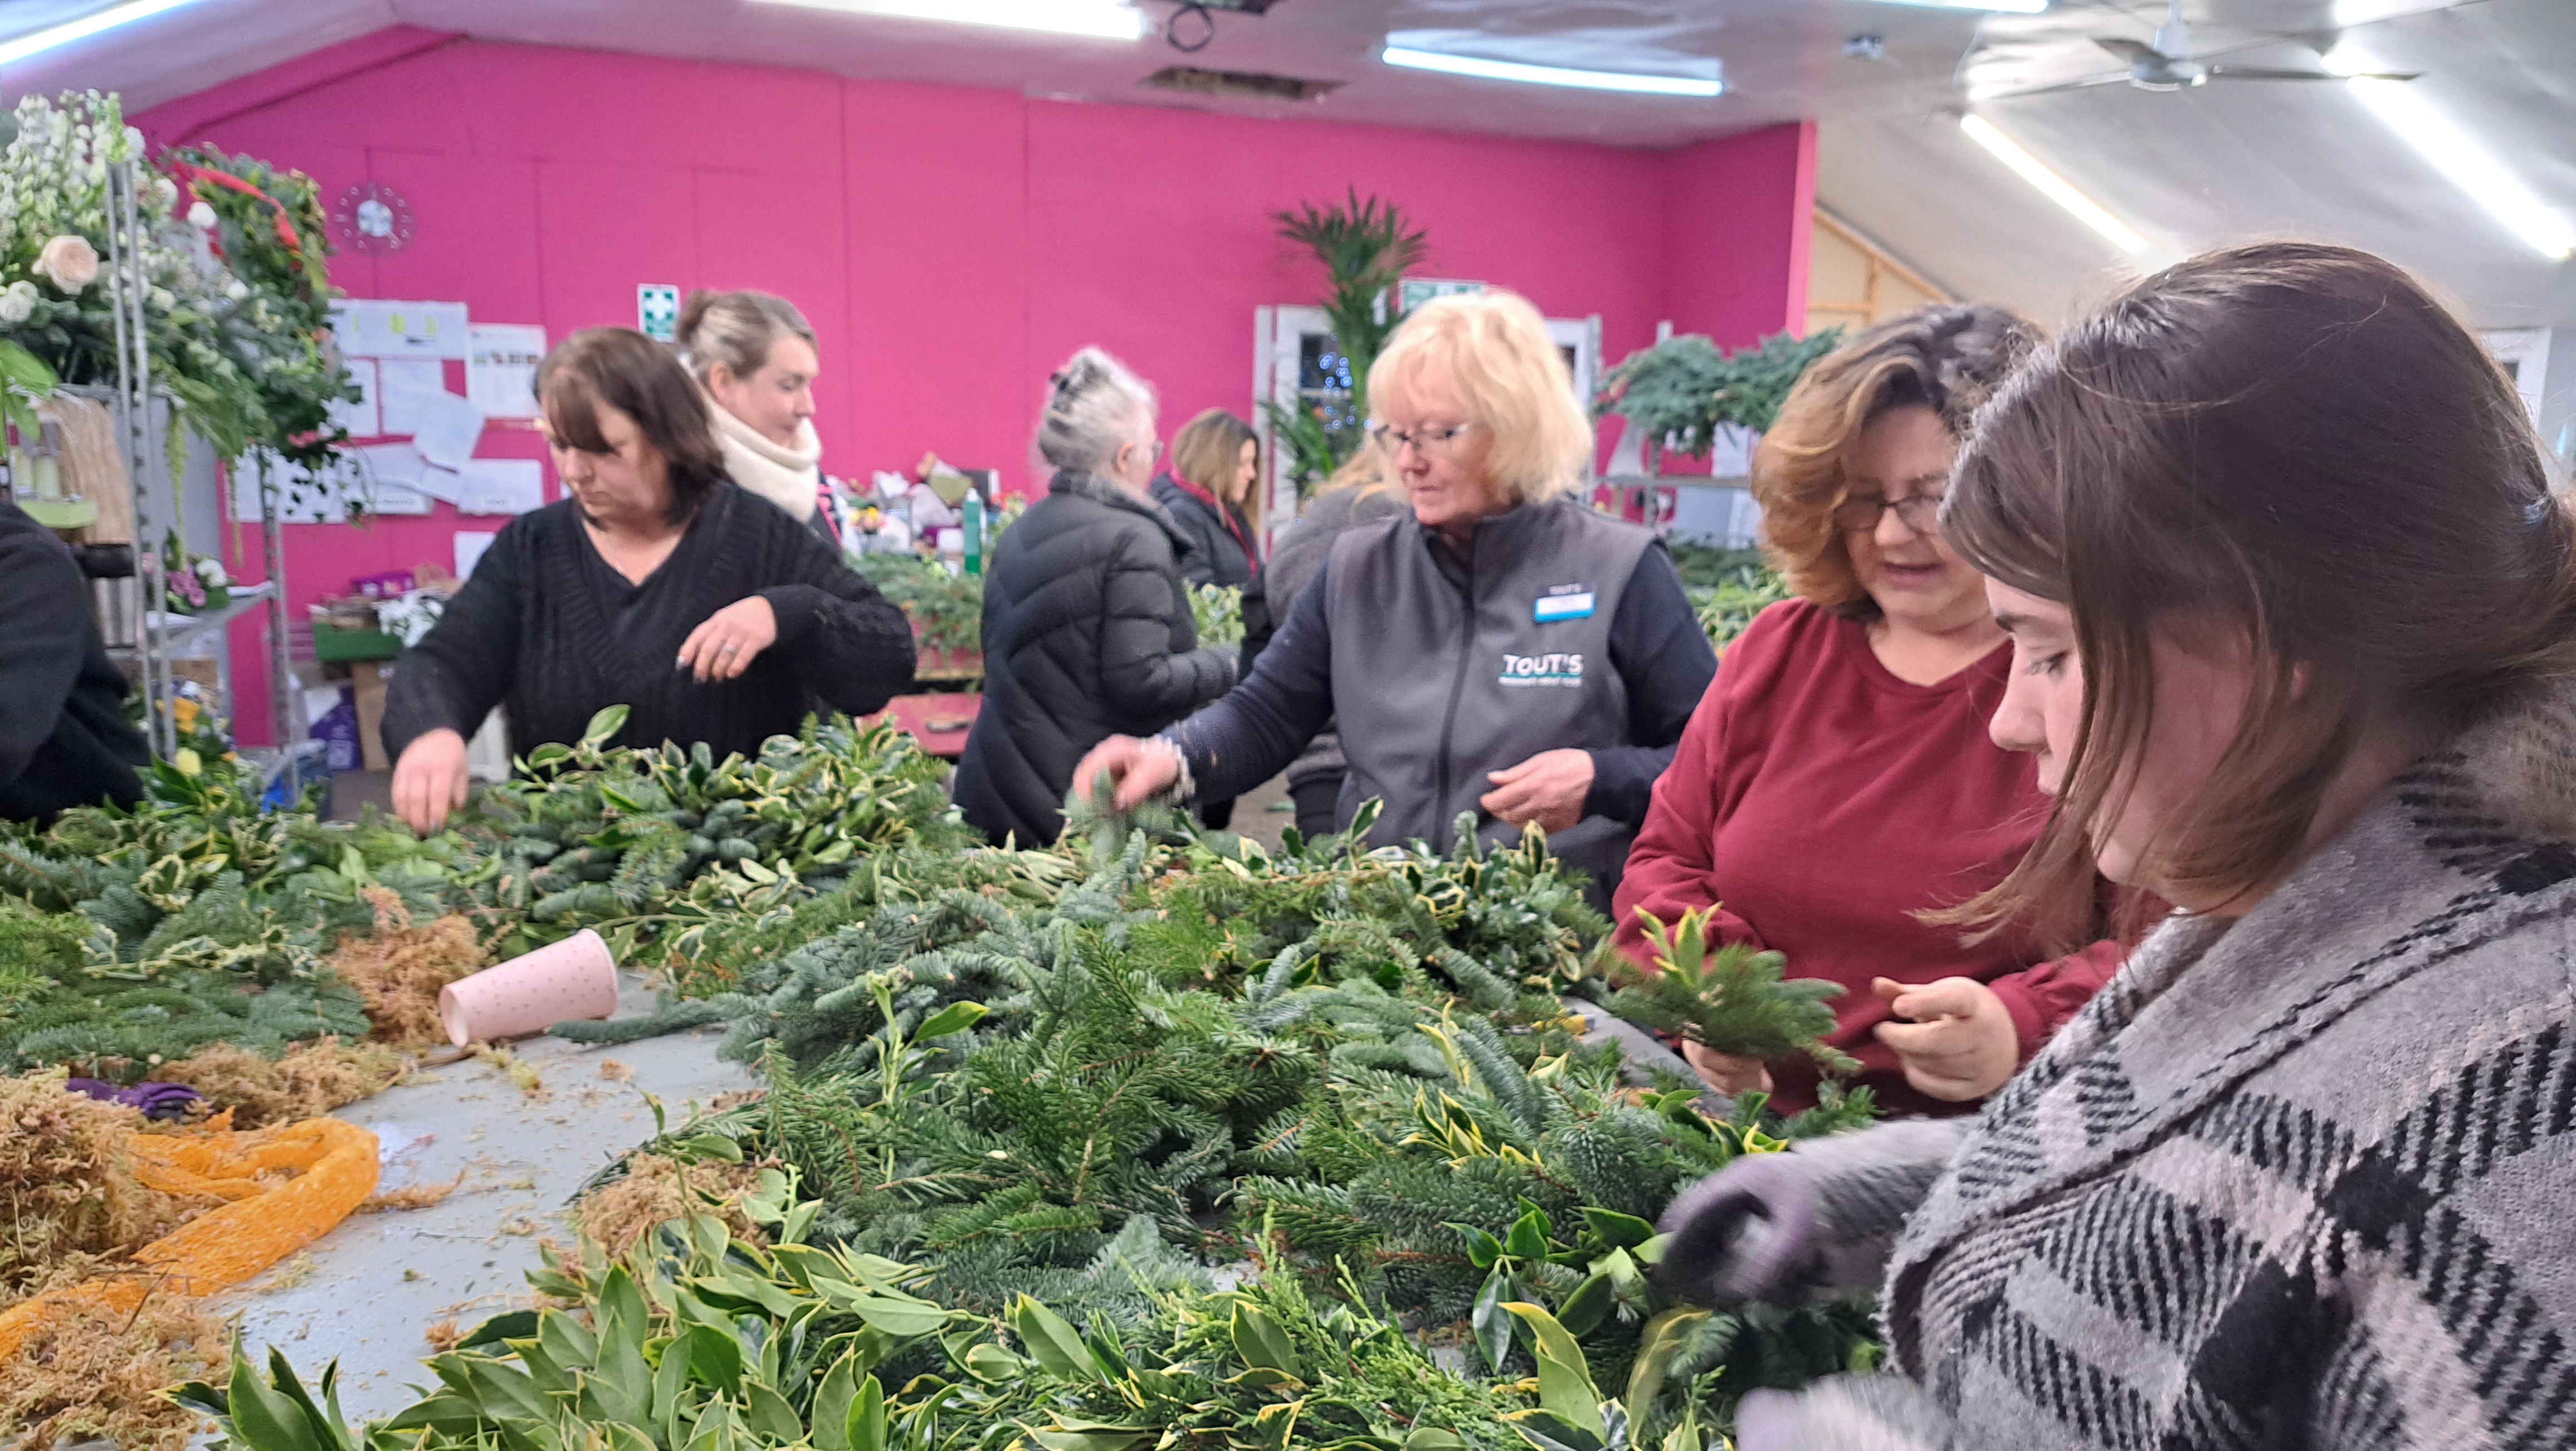
Using the wire still attached to your moss ring, and take small bundles of your chosen foliage, then fasten them to the moss ring using florist wire.
Make sure to layer them in a single direction to create a natural, flowing look.
Pull the wire nice and tight after each bunch.
Remember, the more generous you are with the foliage, the fuller your wreath will look.
Once you have completed your foliage ring, wrap the wire round the frame a few times, cut the wire and push the end into the moss.
Step 4: Berry Adornment
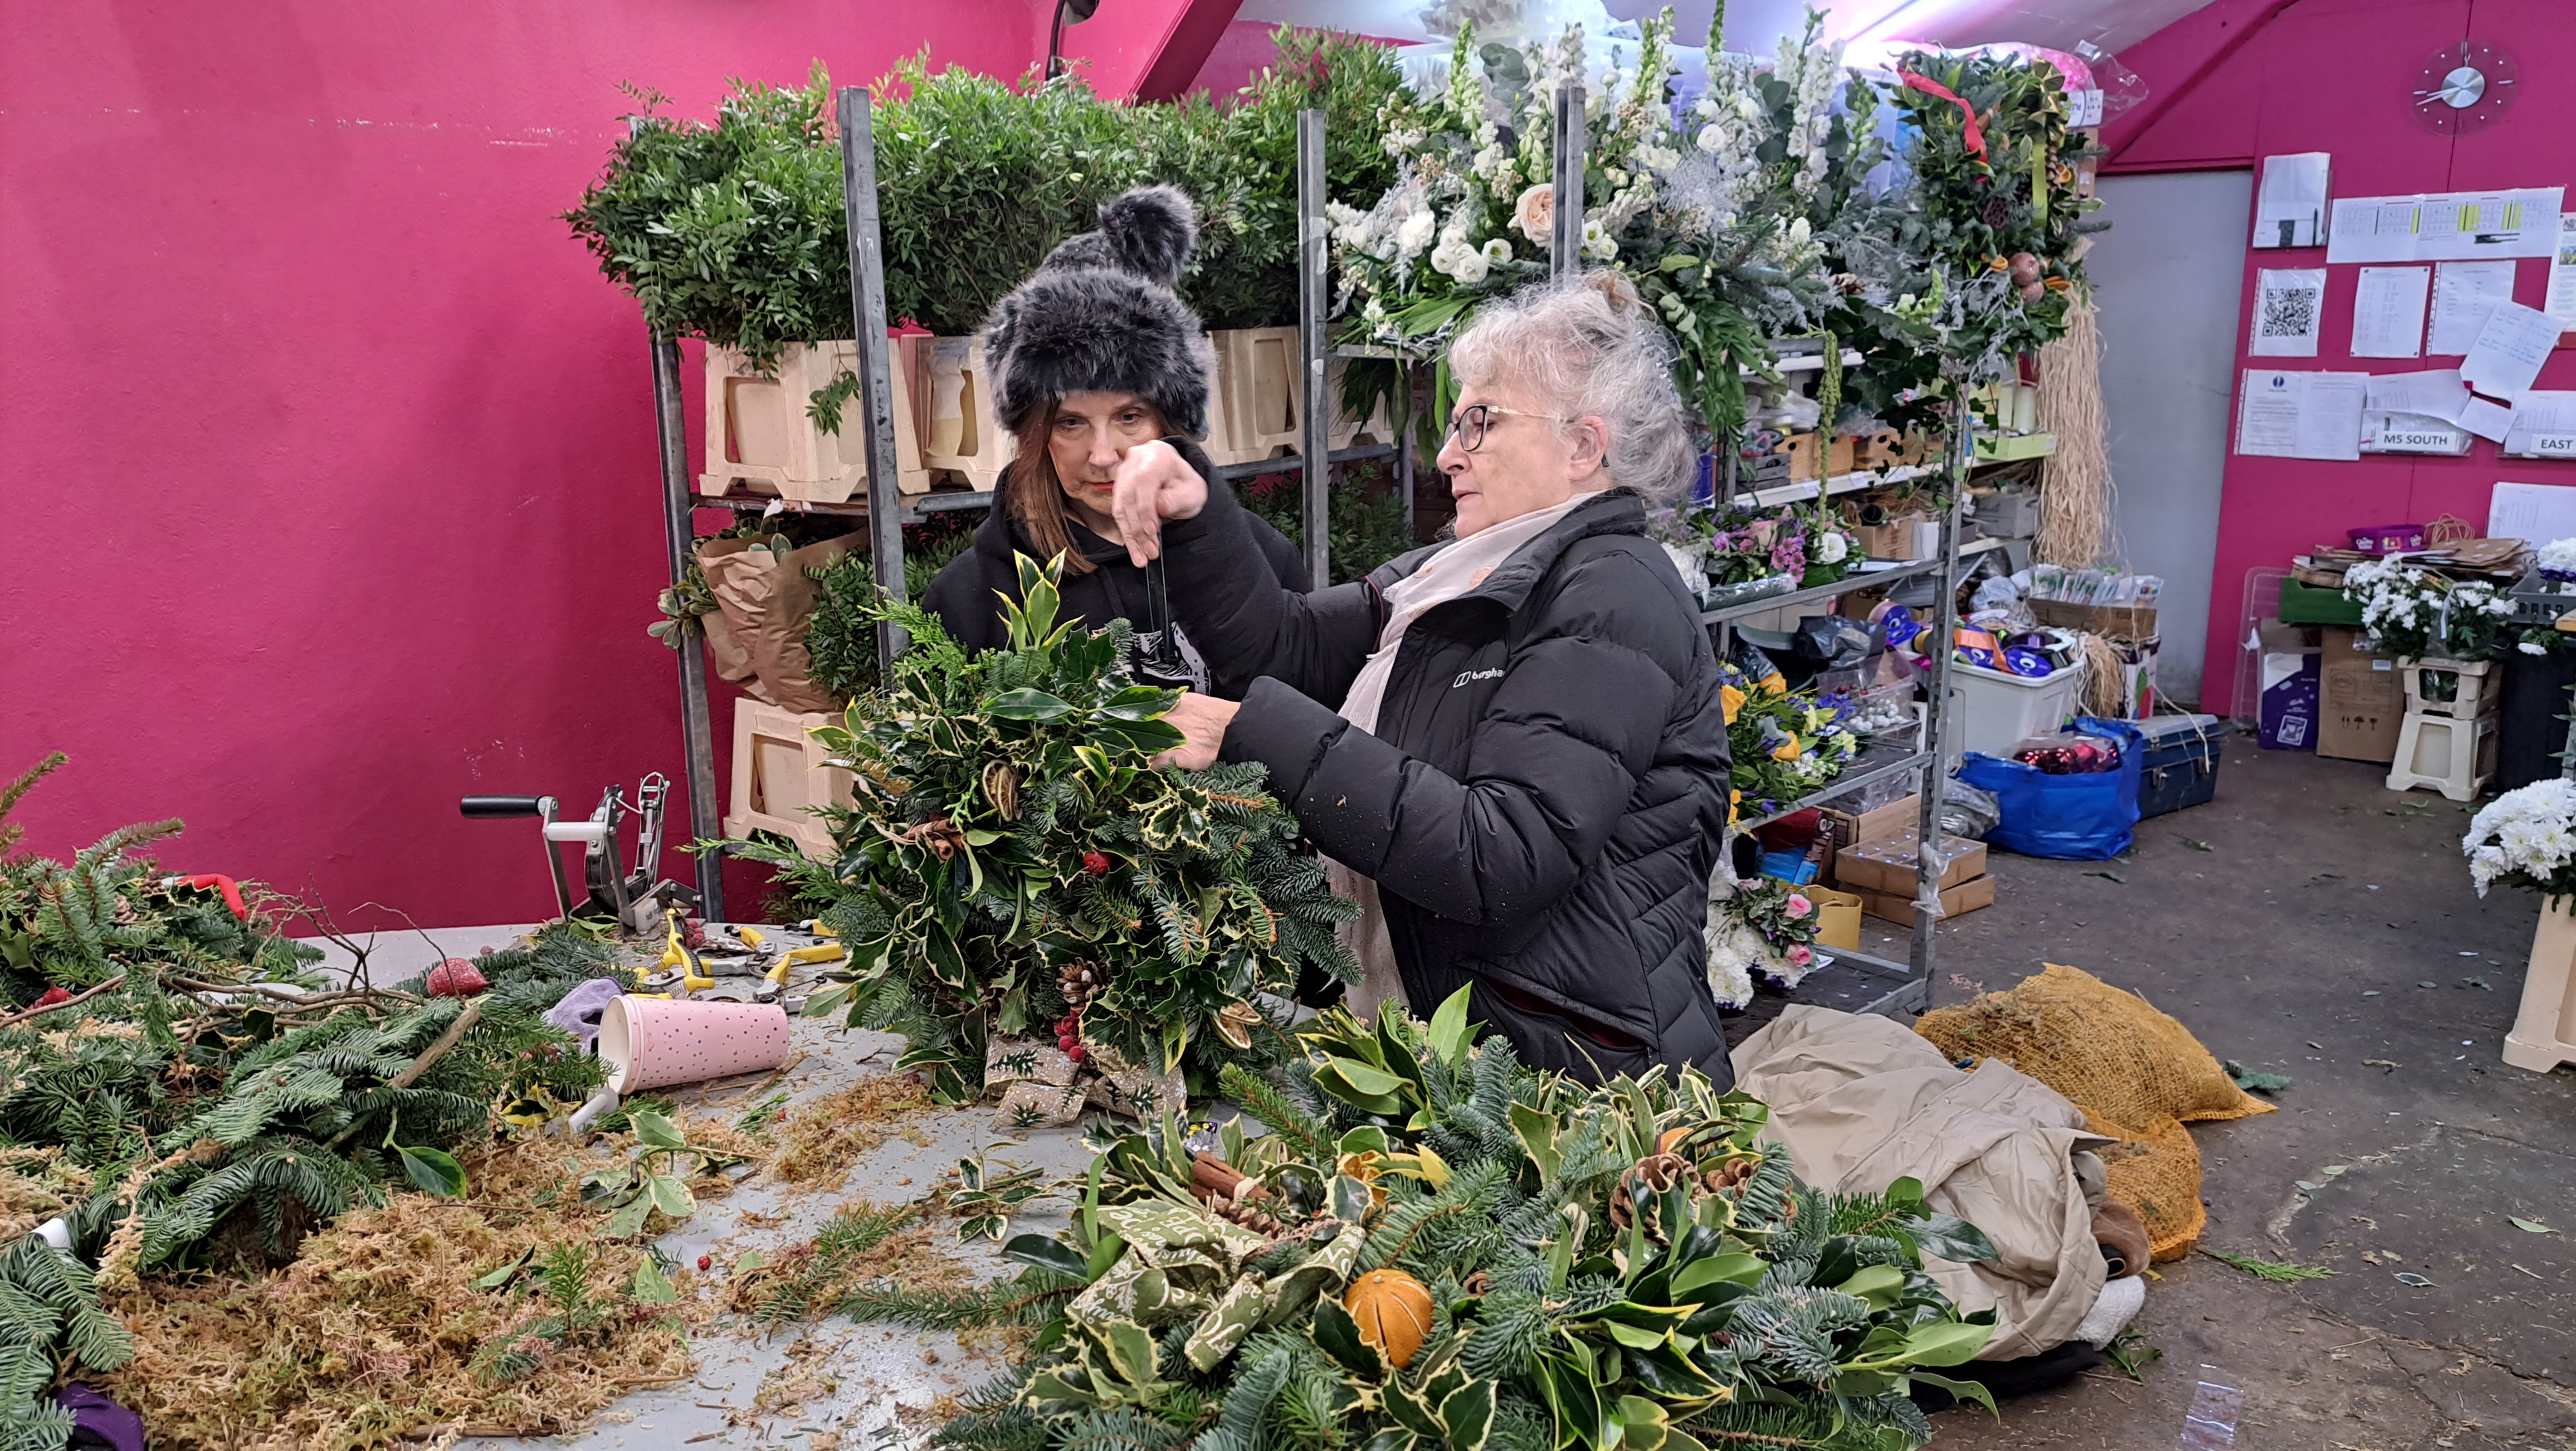
Now, strategically place the berries within the foliage.
Berries add a dash of colour and visual interest to your wreath.
Attach them securely using the florist wire. If you are adding dried fruit, you can do this now.
Step 5: Christmas Baubles

Ah, the baubles—the twinkling stars of your wreath!
Select various sizes for a more dynamic look and secure them amidst the foliage and berries.
For a classic touch, you might opt for gold, silver, or even red baubles.
You may want to use a thicker wire for this.
Step 6: Ribbon Finishing
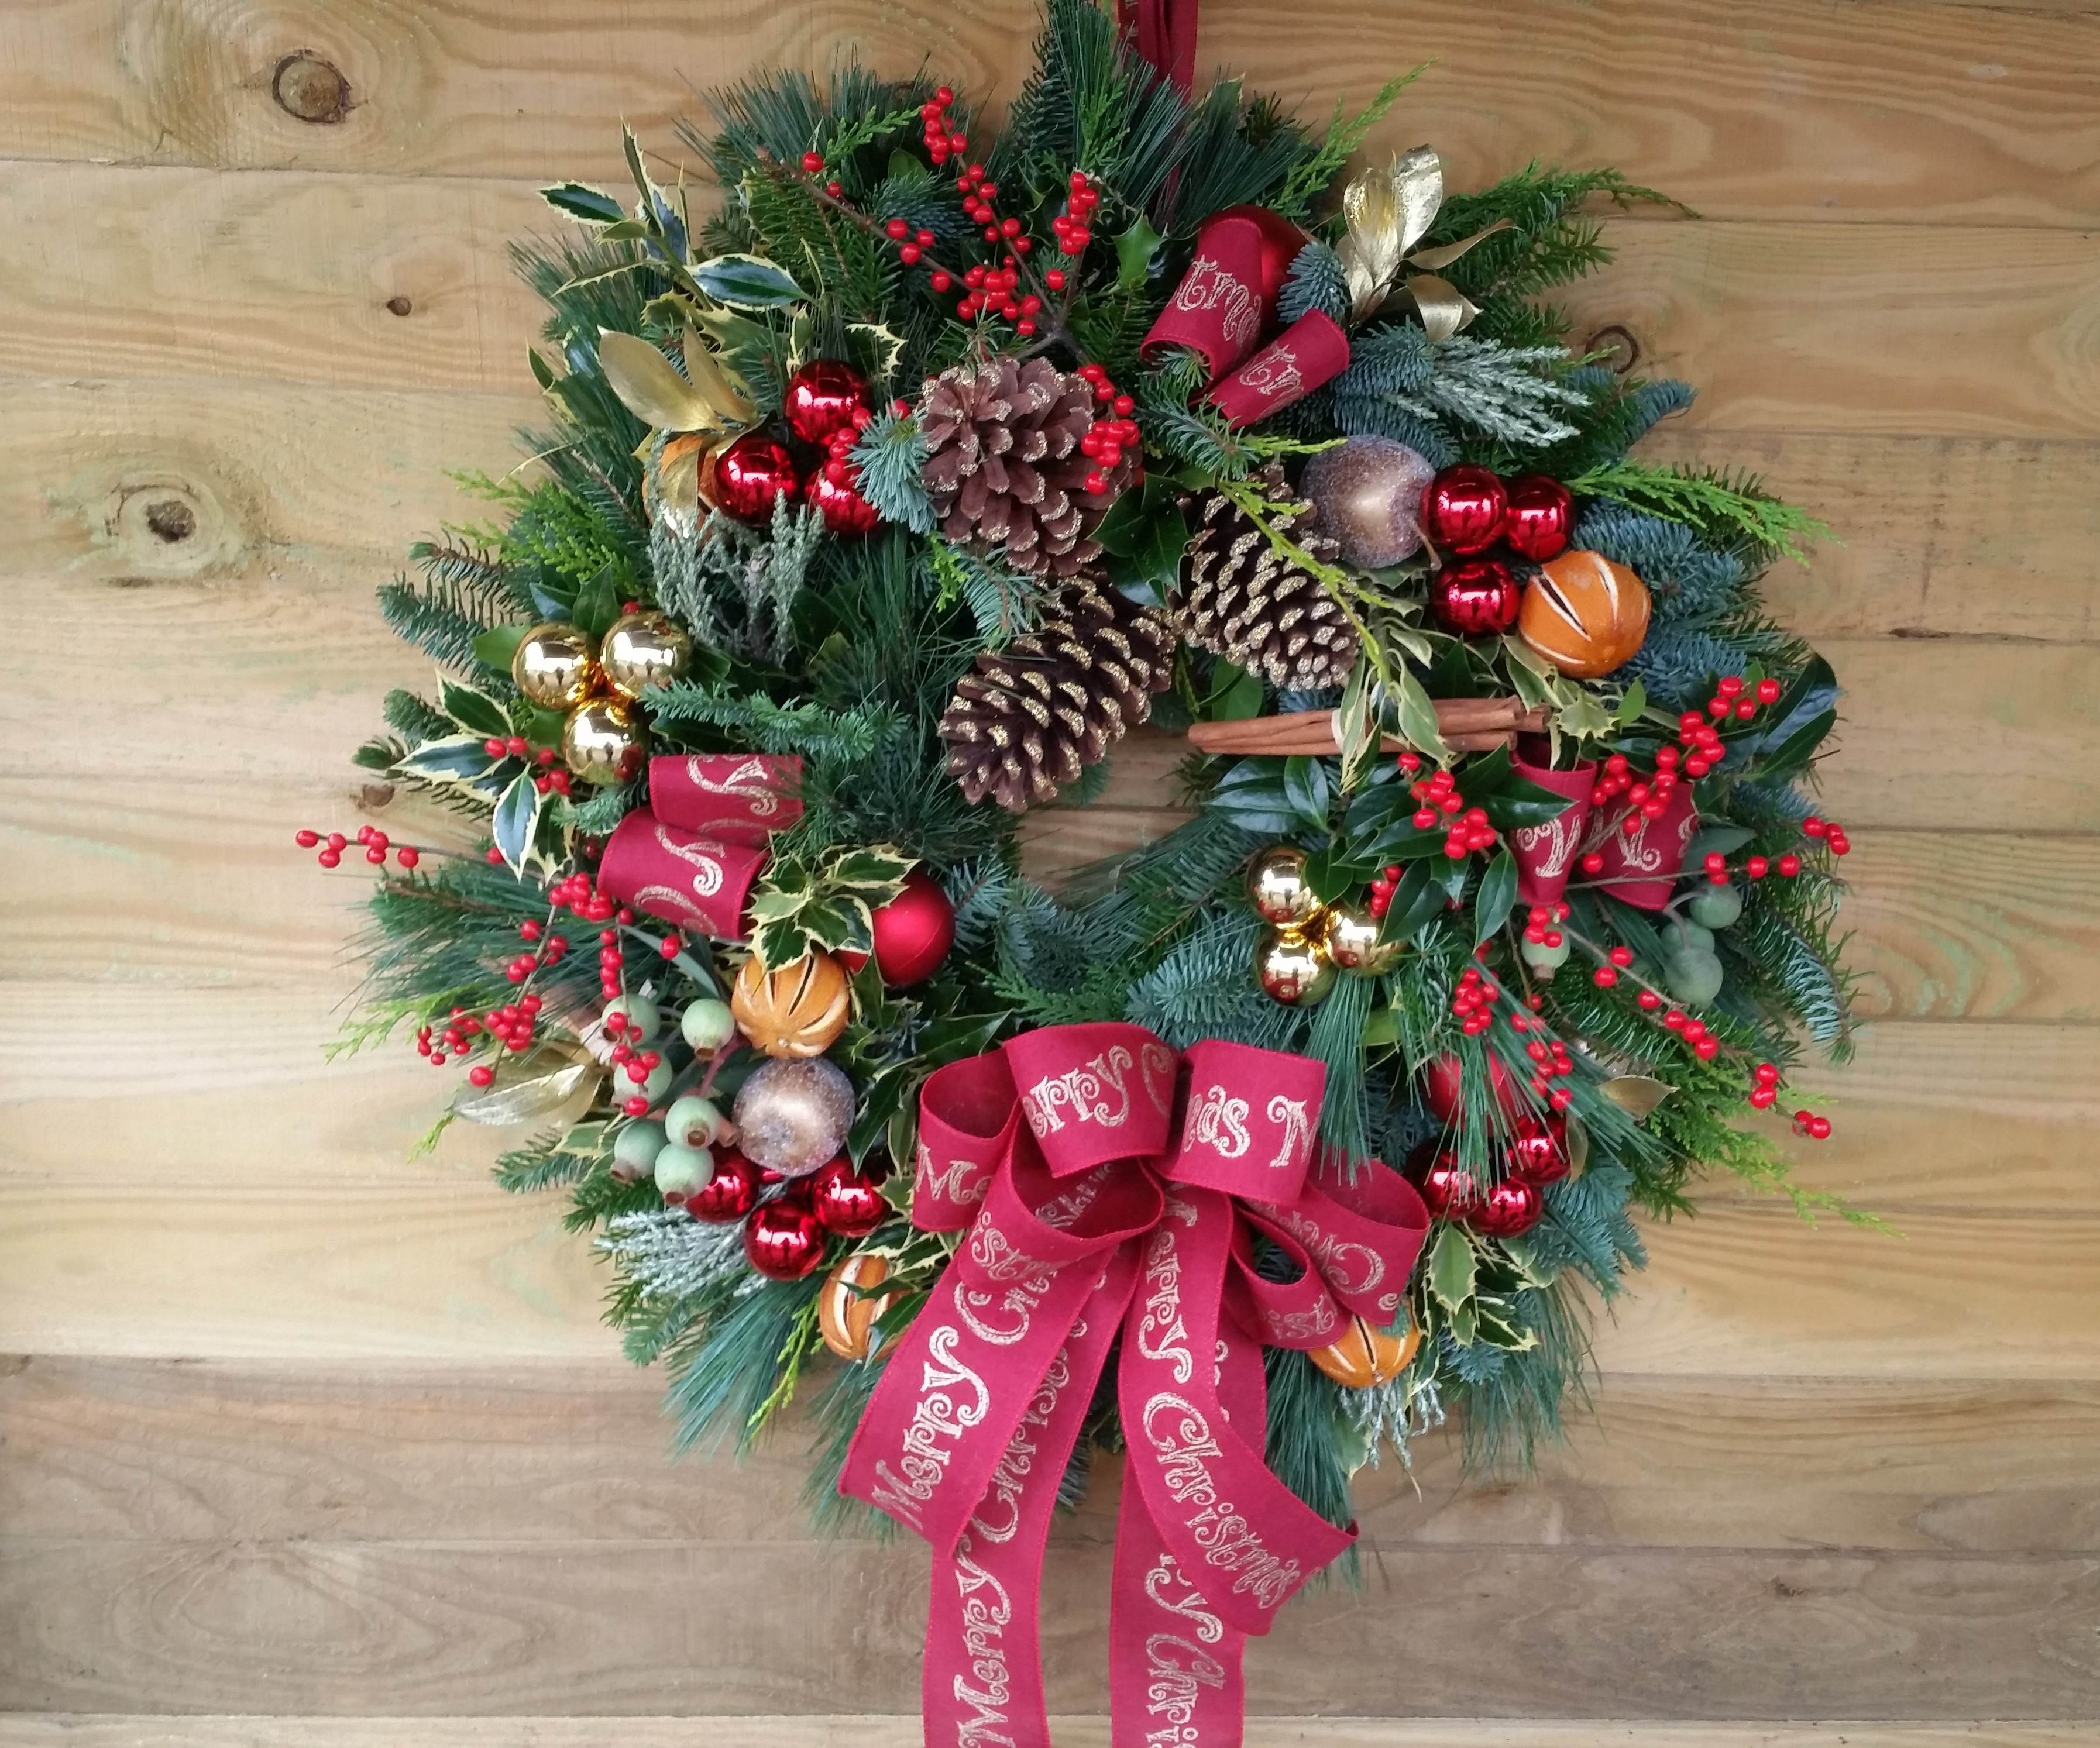
No wreath is complete without the charm of a festive ribbon!
Create a bow or loop with your chosen ribbon and attach it at the bottom or top of the wreath as you prefer.
This final touch is like the icing on a Christmas cake! You may want to use a thicker wire for this.
Step 7: Hang Your Masterpiece
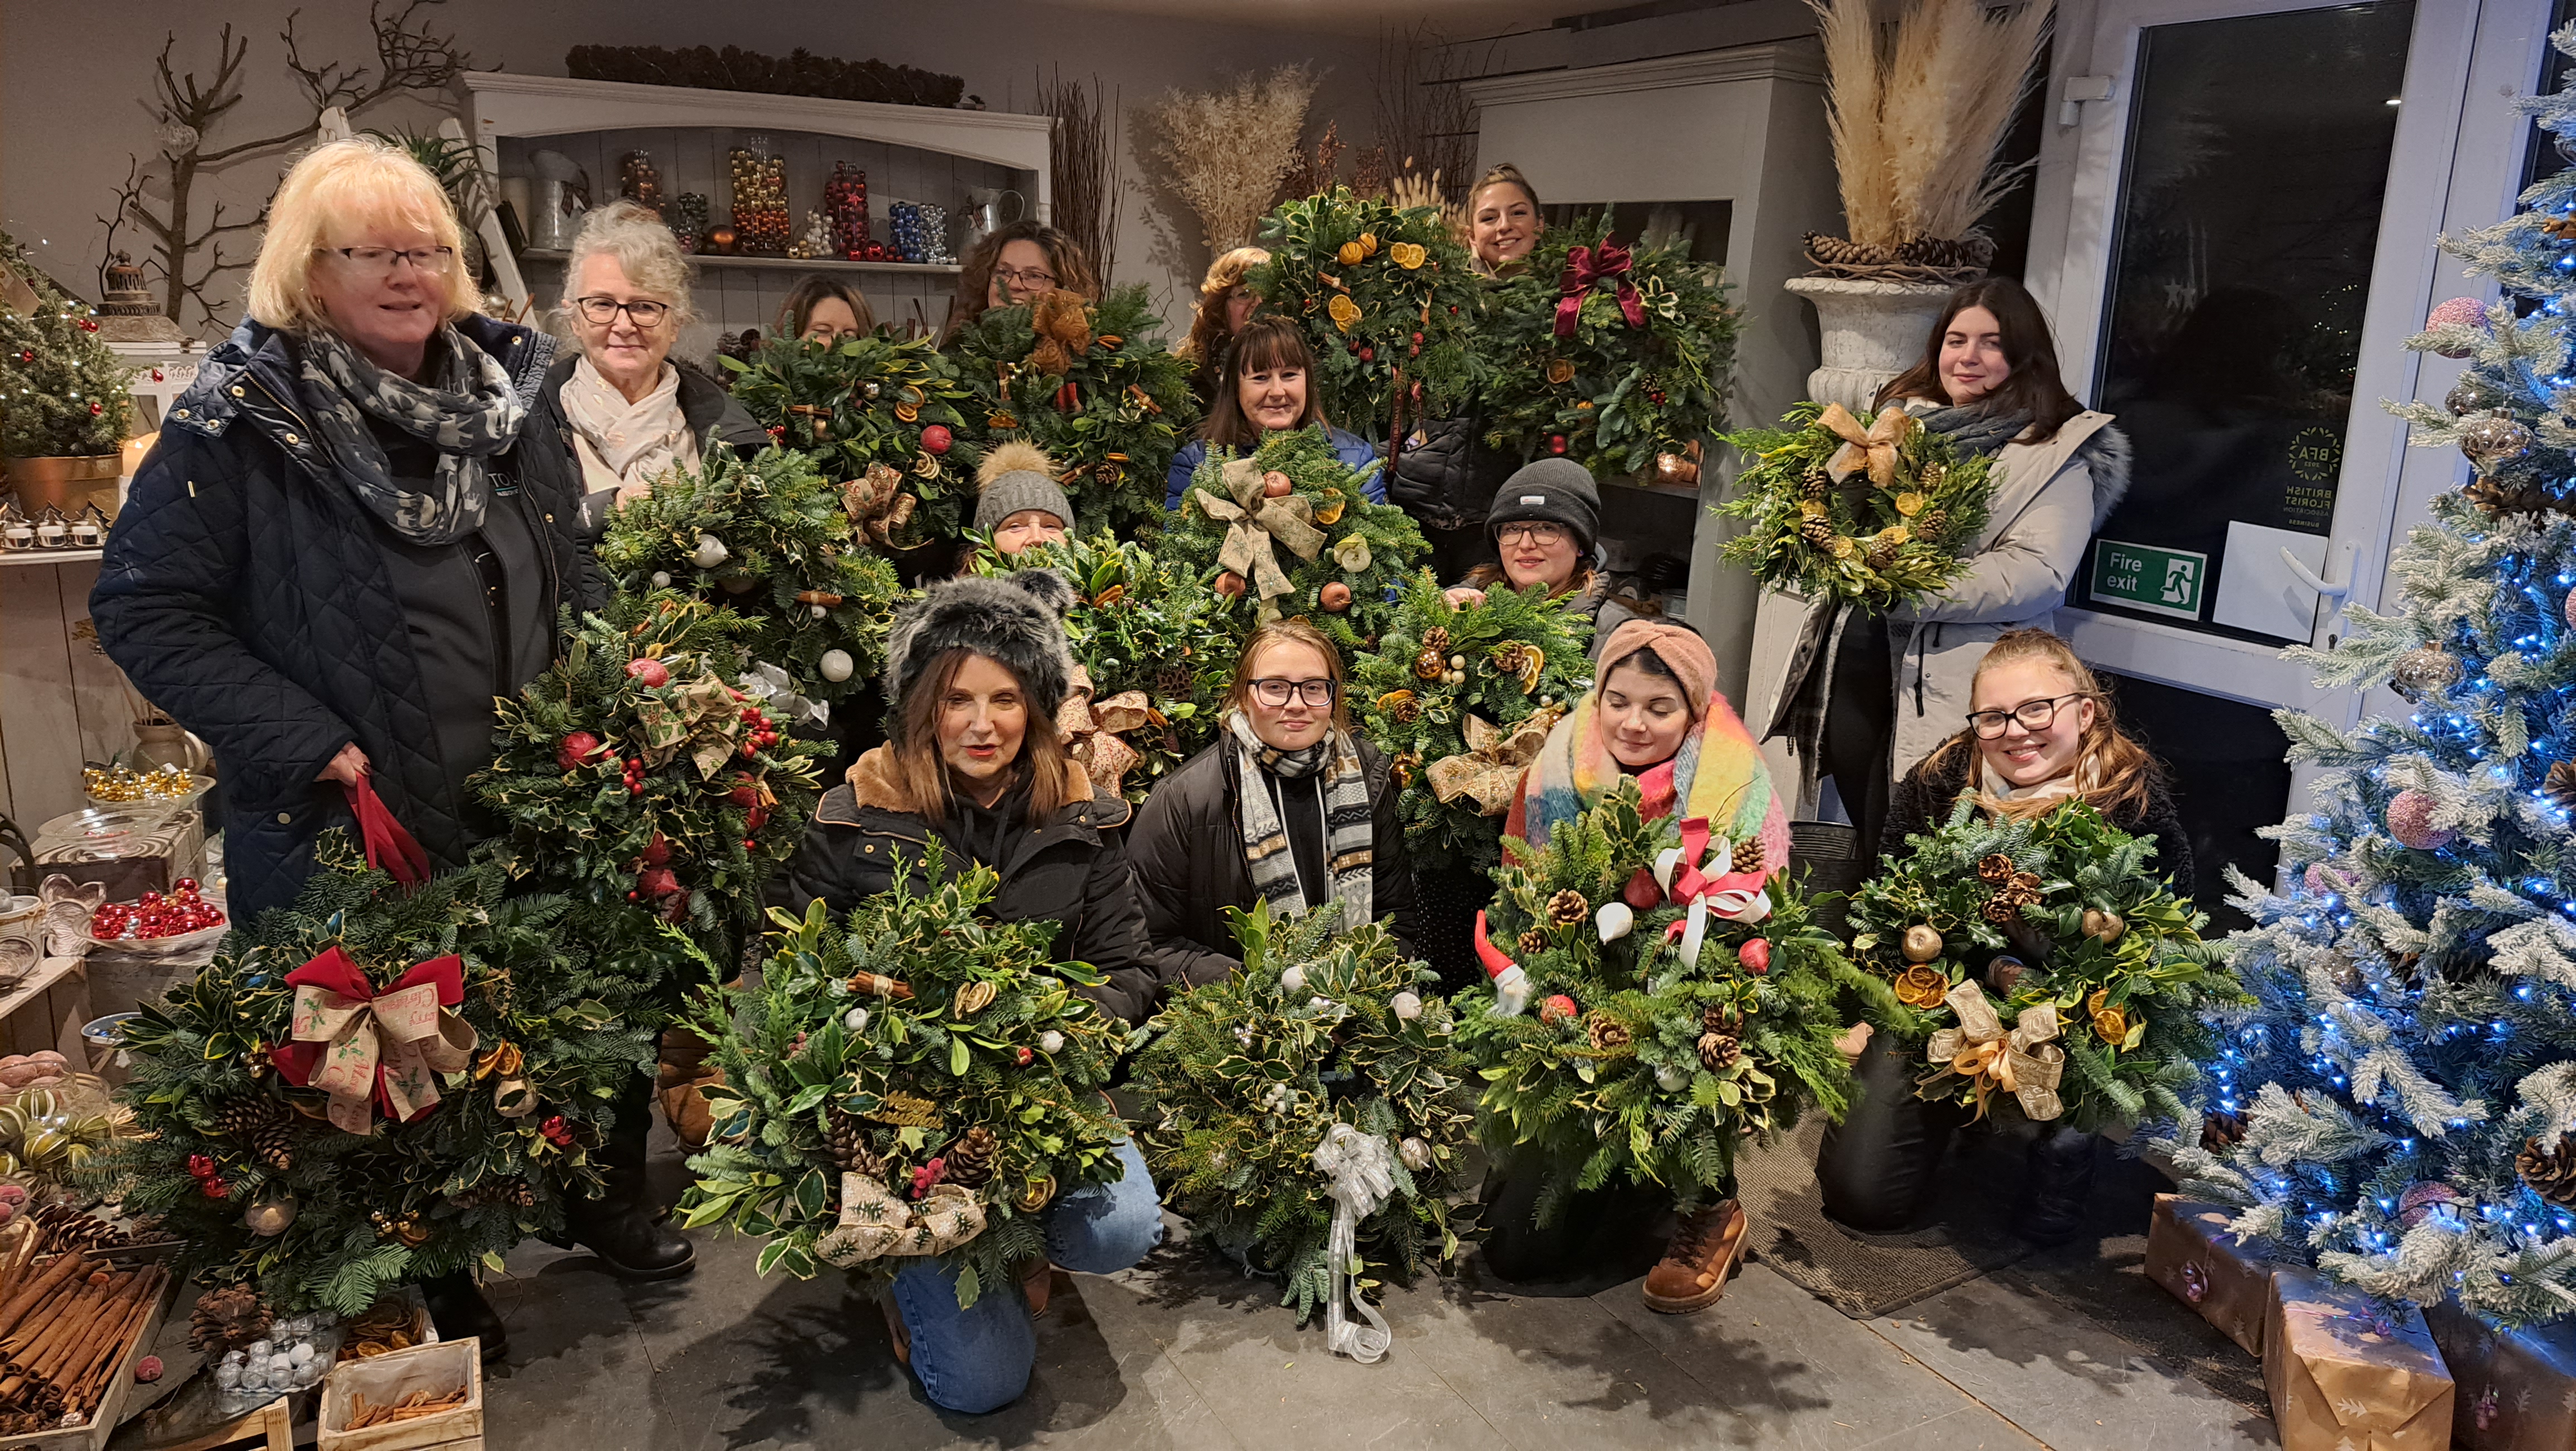
Find the perfect spot for your new creation.
Whether it adorns your front door to welcome guests or becomes a centrepiece inside your home, it's bound to draw smiles and compliments.
And there you go!
There you have it—a traditional Christmas wreath that’s as heartwarming as the season itself!
Here at Kimberley's The Florist, we believe that every floral creation is a work of art, and we hope you find joy in crafting your very own masterpiece this Christmas. Happy crafting!
Join Some Christmas Wreath Workshops at Kimberleys
We're hosting two Christmas wreath workshops in December.
You will learn a life long skill and get into the Christmas spirit, with drinks, mince pies and more...
They will be on: Friday 1st December (6:30pm-9pm) and Wednesday 6th December (6:30pm-9pm).
Unit 1, Barberry Farm, Kennmoor Rd, Clevedon BS21 6TZ
To book online and find out more click here.
Look forward to seeing you!!!

